| Project | Specification parameters | Unit |
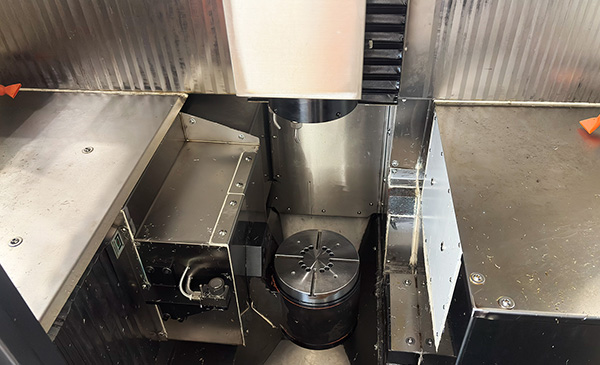
| Processing range | Workbench diameter | ∅160 | mm |
| The maximum rotational diameter of the workpiece | ∅160 | mm |
| The countertop is lower than the A-axis | 31.5 | mm |
| The maximum height of the workpiece (including fixtures) | 150 | mm |
| The maximum weight of the workpiece and fixture | 20(level)
15(tilt) | kg |
|
| Feed shaft | X/Y/Z axis travel | 350/350/220 | mm |
| A-axis stroke | -280 | ° |
| C-axis travel | N*360 | ° |
| The distance from the end face of the spindle to the worktable | 120-320 | mm |
| Maximum speed along the X/Y/Z axis | 30 | m/min |
| Rated speed of A/C axis | 60/120 | rpm |
| Maximum torque of the A/C axis | 230/49.5 | Nm |
| Main shaft | Spindle tool holder interface | BT30 |
|
| Maximum rotational speed of the main shaft | 24000 | rpm |
| Spindle torque S1 | 13 | Nm |
| Tool magazine | Tool magazine capacity | 6 | T |
| Maximum tool diameter/length | 30/180 | mm |
| Maximum tool weight | 2.5 | kg |
| Tool change time | 6 | s |
| Precision | Closed-loop control of X/Y/Z axes | Optional |
|
| A/C closed-loop control | Standard |
|
| The positioning accuracy of the X/Y/Z axes is ISO 10791-4:1998 | 0.005 | mm |
| The positioning accuracy of the A/C axis is ISO 10791-4:1998 | 5 | Arc seconds |
| Repeat positioning accuracy of X/Y/Z axes ISO 10791-4:1998 | 0.003 | mm |
| Repeat positioning accuracy of A/C axis ISO 10791-4:1998 | 3 | Arc seconds |
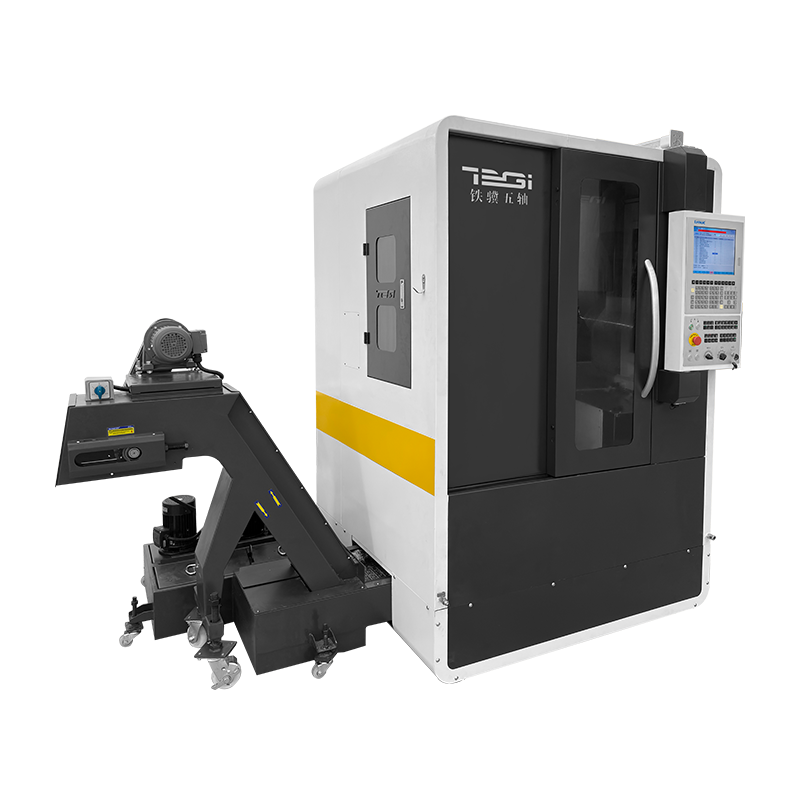
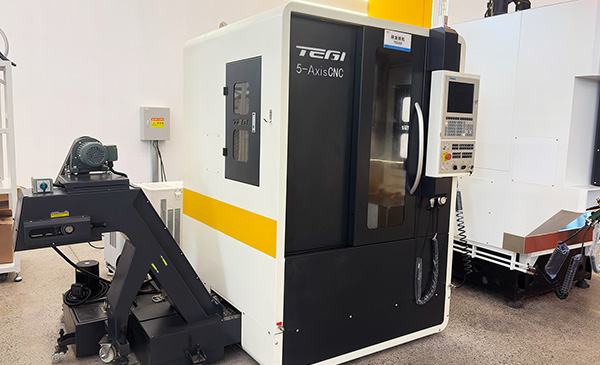
| The external dimensions of the main machine part (length/width/height) (front machine tool) | 1,400/1,400/2,000 | mm |
| Machine tool weight (excluding accessories) | 2200 | kg |
| Total electrical capacity | 20 | KVA |

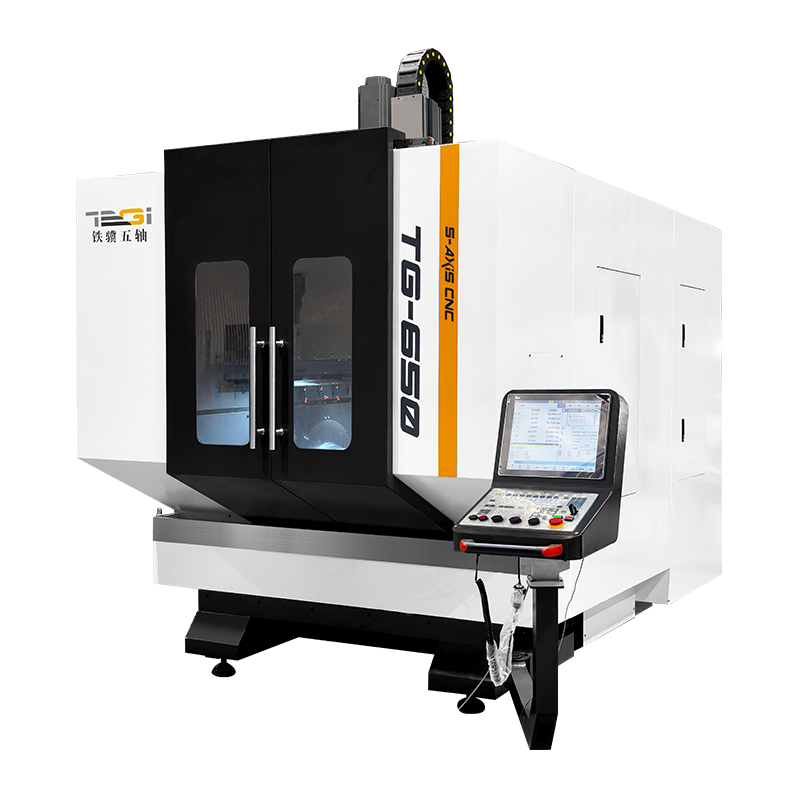
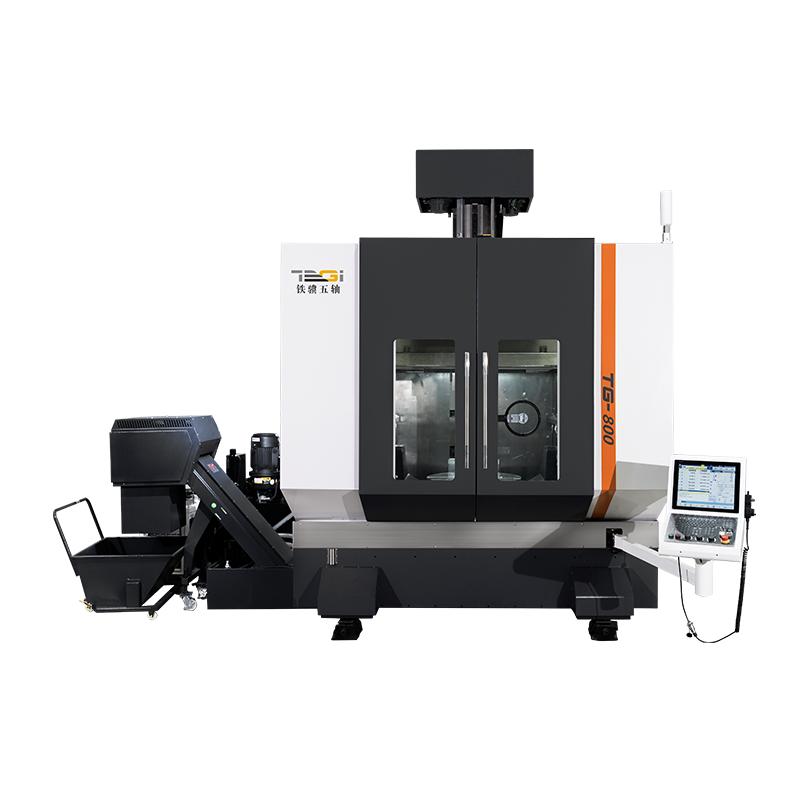
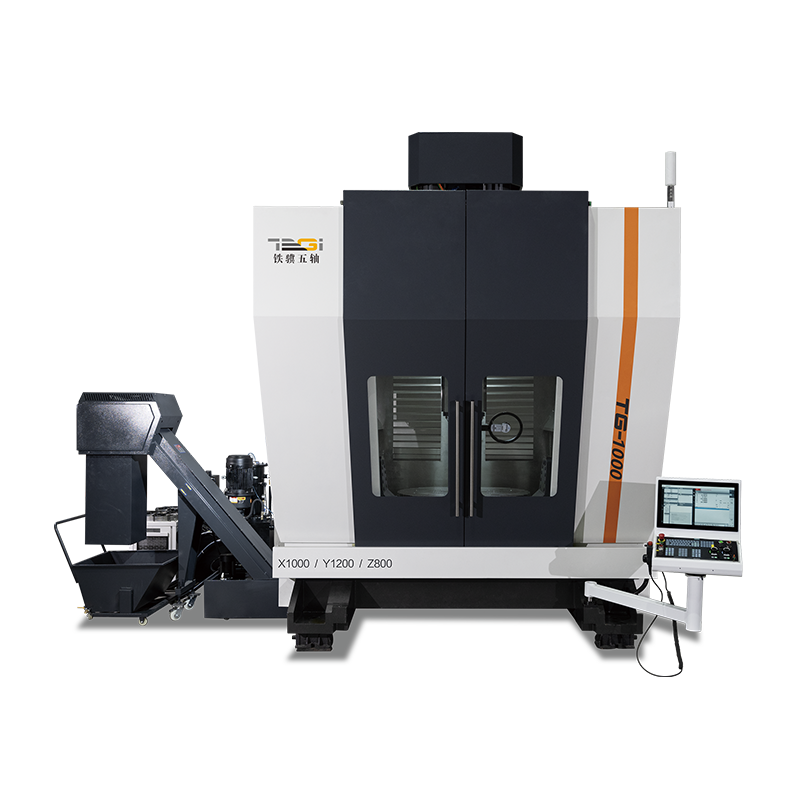
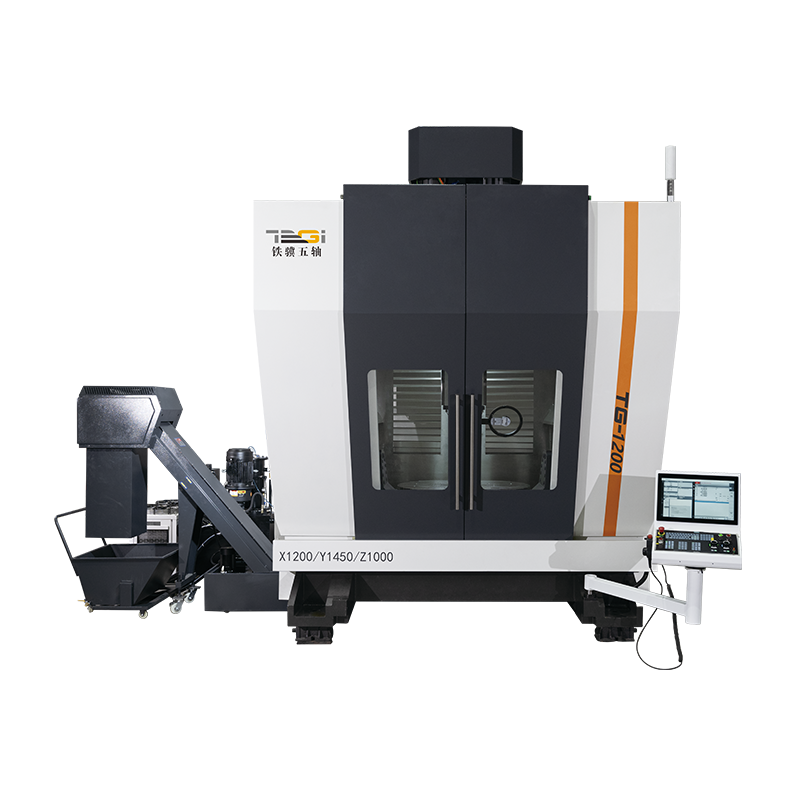


 Record number: